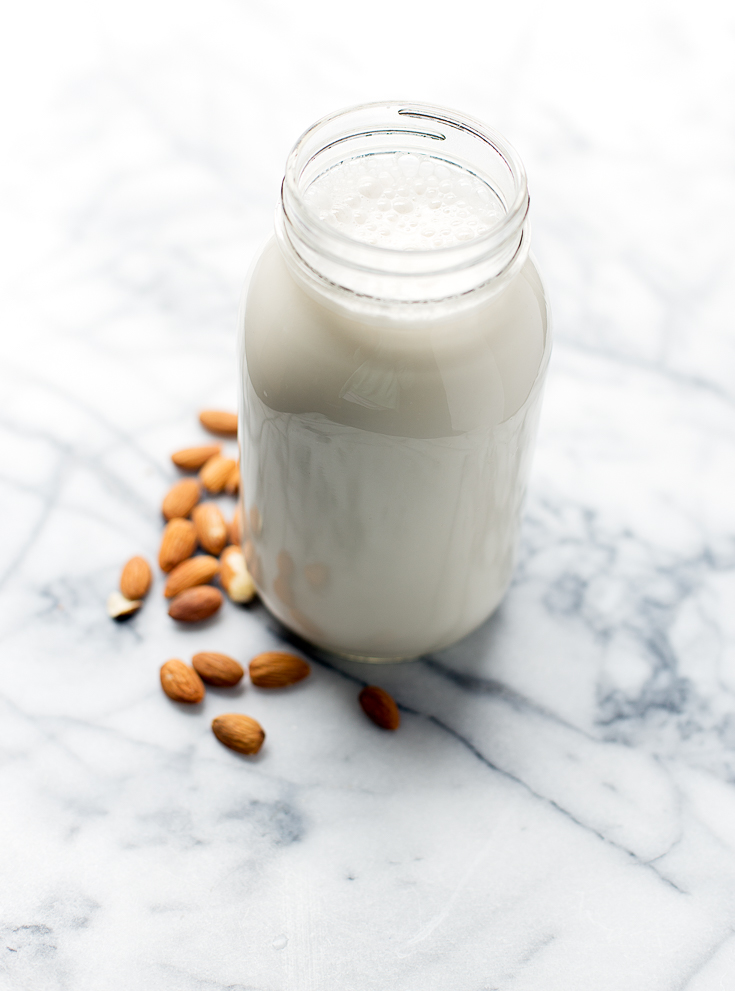
This simple tutorial will show you how to make almond milk at home. It’s super easy and delicious!
Today I’m partnering with Ellie’s Best to show you how to make your own almond milk. But before we dive into this tutorial, can we just take a moment to appreciate one of my favorite memes of all time?

If you’re still wondering where almond milk comes from, let me show you! Over the past few years, the non-dairy product market has exploded. Just a few years ago, if you wanted non-dairy milk the go-to was soy and it was usually sweetened. Then almond milk became crazy popular and led the way for other non-dairy milk options to be introduced to the market. These days you can find just about any kind of milk at the regular grocery store, yet almond milk still reigns as the Queen B of non-dairy milk.
The thing is, a lot of store-bought almond (or other non-dairy) milk can be full of a lot of junk. Added sugars, gums, fillers, and preservatives can be hard for a lot of people to digest and aren’t exactly health-promoting (I’m looking at you carrageenan).
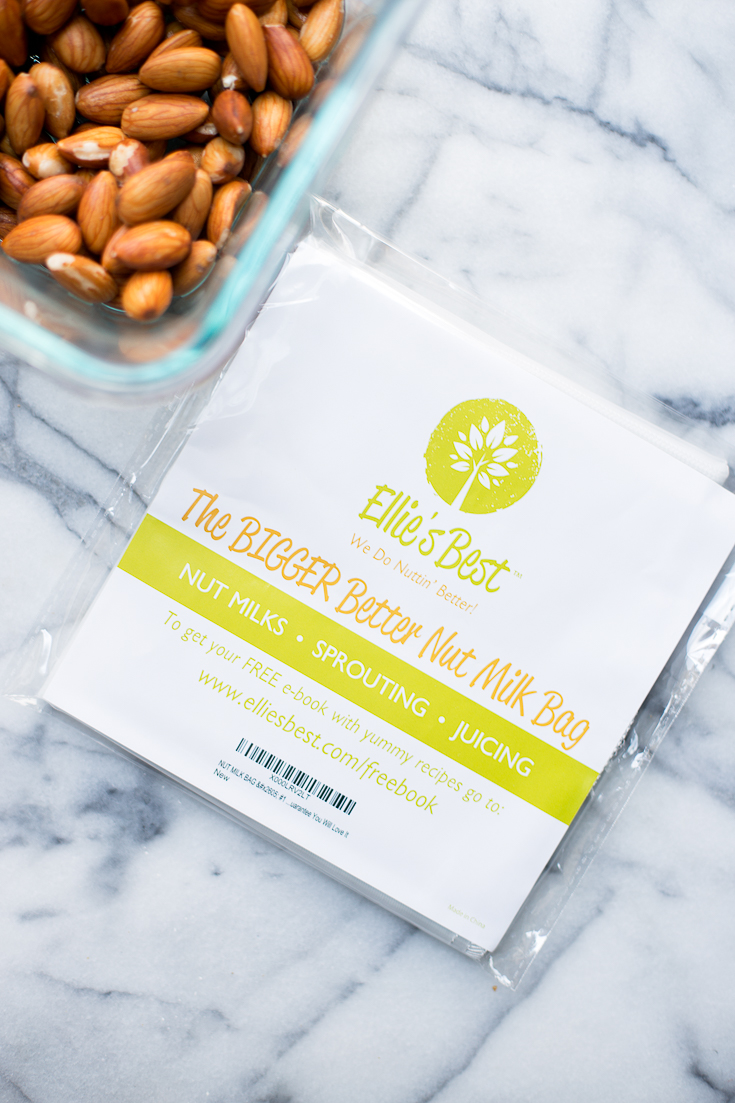
Thankfully, making your own nut milk is super easy and super affordable especially if you buy your nuts in bulk. All you need to make your own milk is nuts, a blender (I use my Nutribullet), and a nut milk bag to strain the milk. I like using Ellie’s Best bags because they are easy to use and clean. Don’t have a nut milk bag yet? Use the coupon code “berry10” to get 10-percent off your order. Now that you’re all set – let’s make some milk!
How to Make Almond Milk
1. Soak your almonds.
Before you actually make your almond milk, make sure you allow your almonds to soak for at least four hours or overnight. Soaking the almonds hydrates them and makes it easier to make and strain milk (otherwise you would end up with watery almond butter). You’ll know the almonds are ready when they plump up, and the skins can be easily removed should you choose to do so. Check out the difference between soaked and raw almonds:
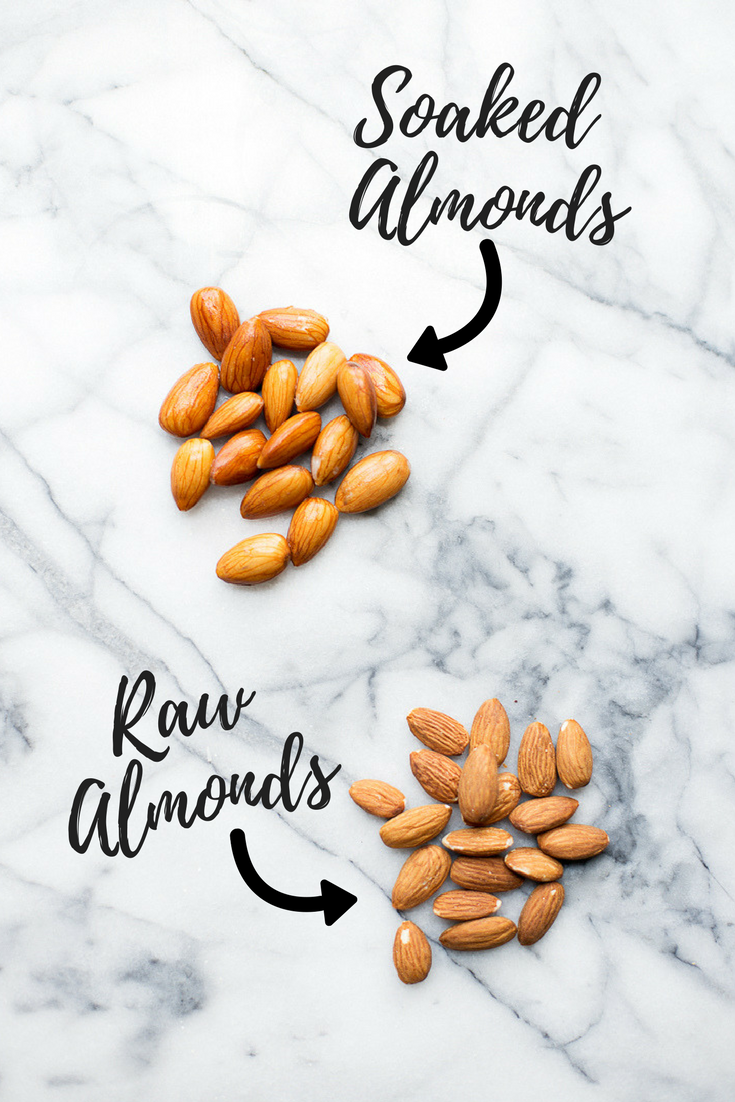
I also like to rinse my almonds with fresh water after they are done soaking.
2. Blend.
After your almonds are soaked and ready to go, it’s time to blend! I like to blend my soaked almonds with water using a 4:1 ratio – four cups of water per cup of almonds. Make sure you use fresh water and NOT the water you soaked the almonds in. You want to let them blend for a good minute or so to make sure they are really broken down.
3. Strain.
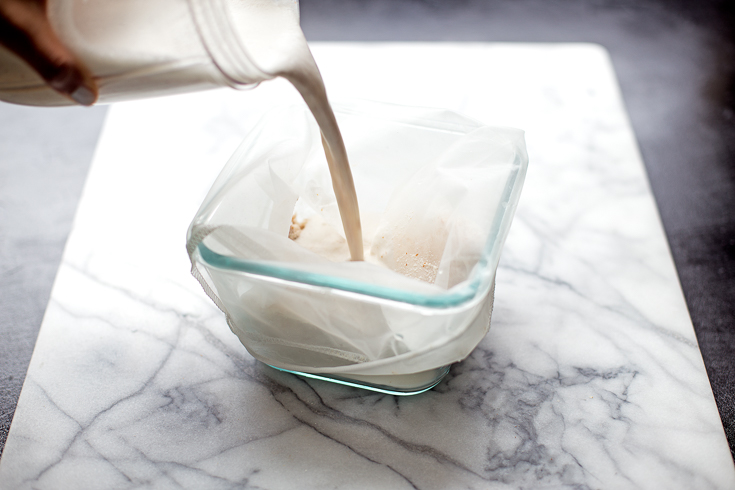
Here comes the fun part. Place your nut milk bag over a large bowl or container, and strain the almond milk. After pouring the mixture through the nut milk bag, I like to use my hands to wring out the bag and get all the milk. You can save the pulp if you’d like (my friend Christina makes an amazing Paleo hummus from her nut milk leftovers).
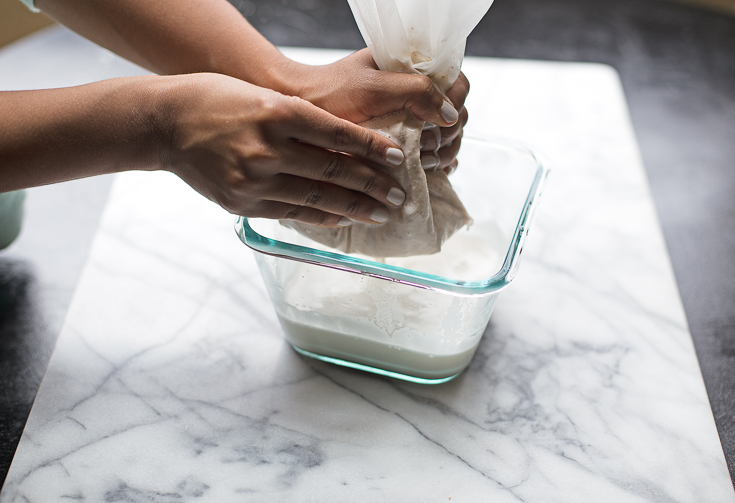
4. Store.
That’s it! Your almond milk is ready for drinking (or cooking, or blending). I like to store mine in a large mason jar in the fridge. Because the only ingredient was almonds and there are no preservatives, it will only last for 3-4 days.
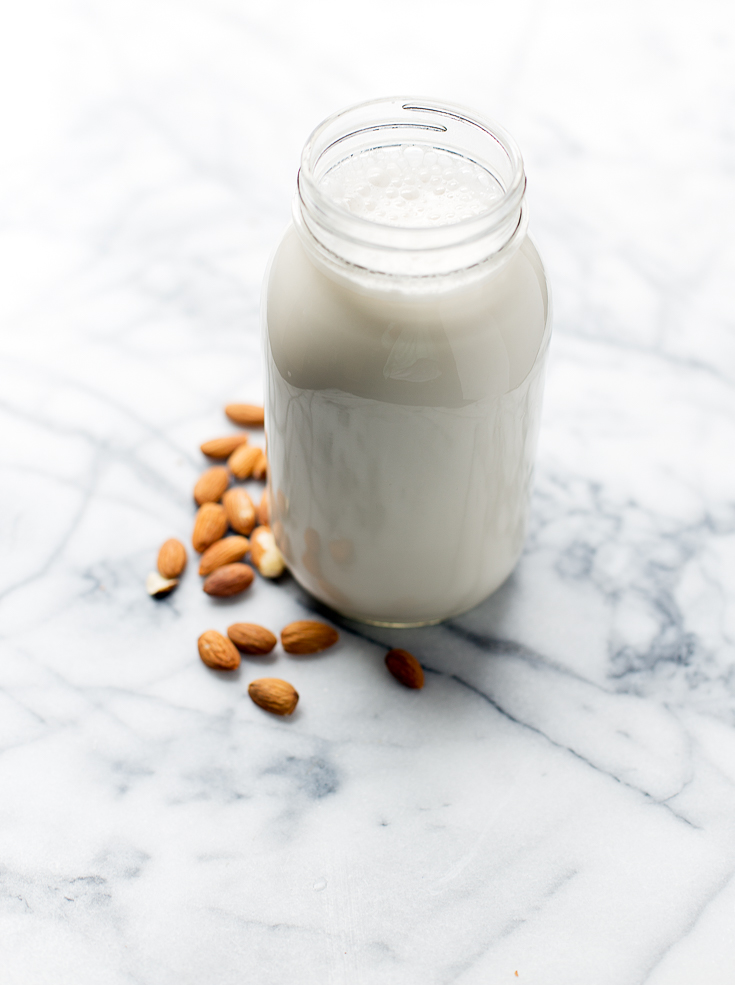
Homemade Almond Milk
 https://www.thebalancedberry.com/wp-content/uploads/2017/07/Almond-Milk-6-of-7.jpg
| Prep: | Cook: | Total: |
You'll Need...
- 1 Cup of Almonds, Soaked for 6 Hours or Overnight
- 4 Cups of Water (Do not use soaking water)
- Optional Flavors:
- Vanilla Extract
- Pinch of Sea Salt
- Sweeteners of Choice (I’ve used Medjool Dates, Maple Syrup, etc.)
Directions
- Combine the soaked almonds and fresh water in a blender and blend until well combined and smooth (I like to blend for about a minute).
- Strain the mixture well using a nut milk bag. Store in a sealed container in the fridge for 3-4 days.
Additional Notes
I have been able to make almond milk from almonds soaked for as little as two hours by soaking in hot water and changing the water frequently to keep it hot.
Your Turn:
- Have you made your own milk before?
- What are your favorite ways to use almond milk?
Disclaimer: This post was in collaboration with Ellie’s Best, and contains an affiliate coupon code meaning if you use my coupon code I earn a small commission at no cost to you. Thank you for helping keep The Balanced Berry up and running!
